Tips and guides /
How to set up a physical booking board
Wouldn't it be convenient to also be able to book or reschedule a time down by the Public.facility_type_two_tvattstugetid? By setting up an iPad, or other tablet, outside the Public.facility_type_two_tvattstugetid and taking advantage of our customized "login function" for public boards, you can easily create a digital booking board where your users can book on site.
Simplified login
The public login page is designed with a focus on making it easy to log in since the tablet is already placed in a location where in principle only users have access.
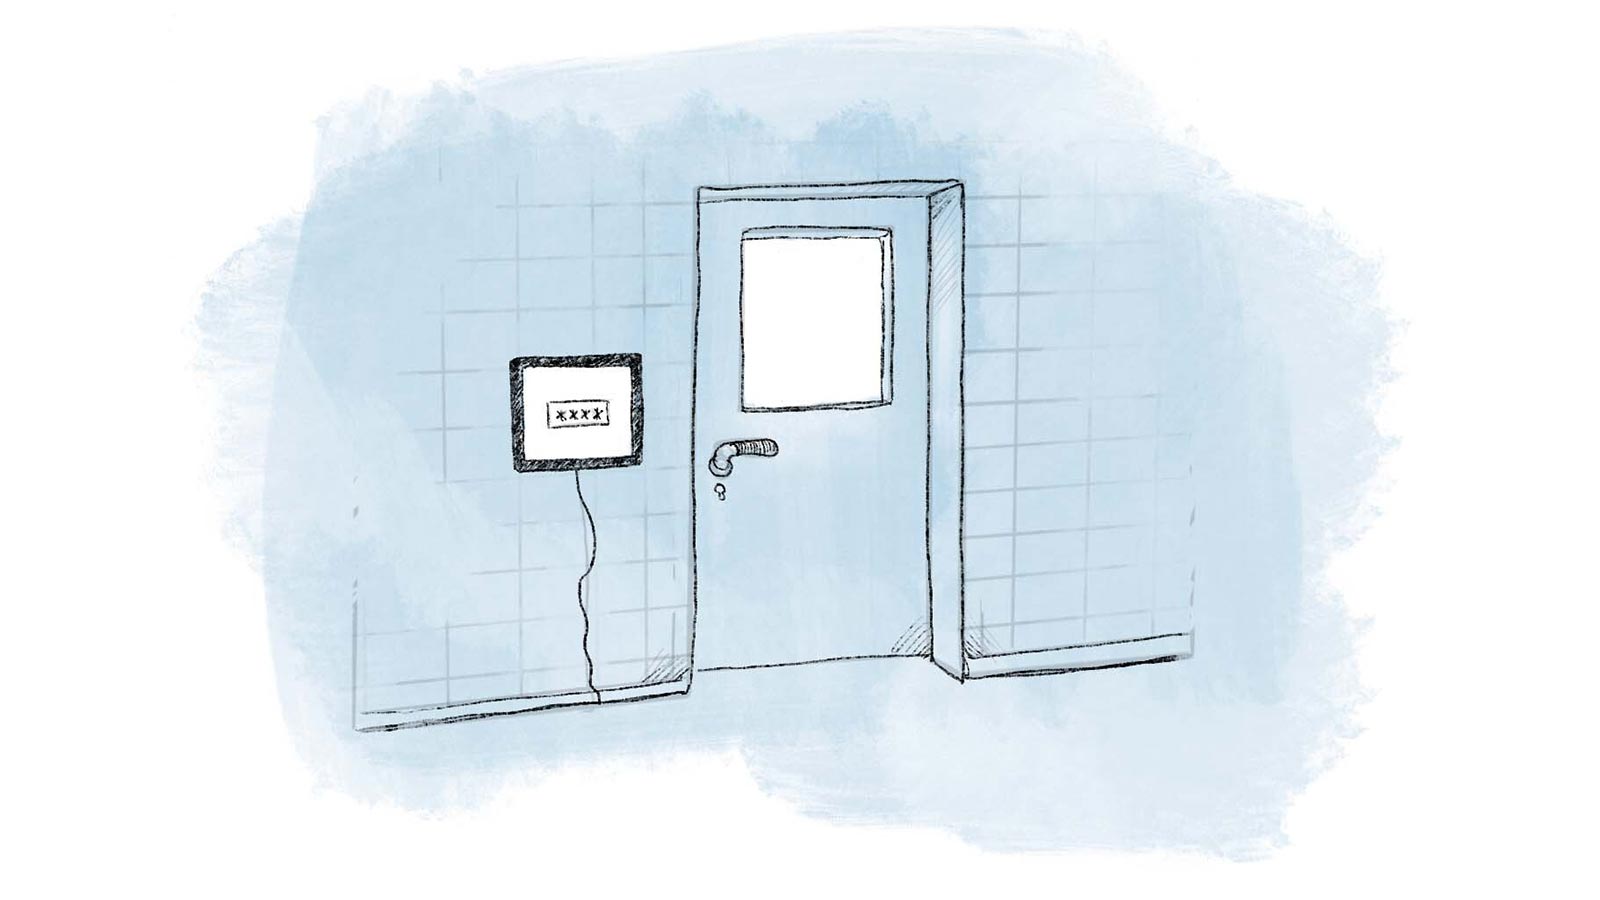
Therefore, users do not need to enter their username or email address, but instead click on the box that contains their name or apartment number and then enter their password, or even simpler, a PIN code that only applies to the public login function.
As an administrator, you can advantageously choose to supplement the passwords with a PIN code to further simplify the login. This can be a good alternative if you have residents who are not very computer-savvy, since a four-digit code is significantly easier to enter than a complicated password.
Possibility to hide users' names
If you do not want users' names to be visible, you can instead choose to display another public comment. This could for example be "Apt 1" or something similar. See the guide below for how the account administrator can make these settings.
Set up an iPad in "kiosk mode"
To ensure that users can only access the booking system on the tablet that is on the wall, it can be configured in a so-called kiosk mode.
By activating Guided Access, you can easily lock an iPad to an app, in this case Safari, and lock the screen so that users cannot leave the current web page.
Exactly how to do this varies slightly between different versions of iOS, but this video gives a good introduction. Otherwise, a Google search for "kiosk mode ios 13" (or whichever version you are looking for) will give you tailored guides to follow.
Guide: Create a public link to the calendar
As an administrator, you can create a public link by following these steps:
-
Log in and go to "Manage calendar".
-
Under "Calendars" select the calendar (if you have several) that you want to create a public link to and then click on "Public access" in the menu to the left.
-
Check the box for a public link and then choose:
- whether it should show names or a public comment, and
- whether you want to use password or PIN code.
To use a comment instead of name or a PIN code instead of password, all users must have these details set. For users who lack either public comment or PIN code, the administrator must therefore assign this to each user. This is done by going to "Users" in the left menu.